DIY window installation: A comprehensive guide for homeowners looking for an affordable and rewarding home improvement project. Imagine a brighter, more energy-efficient home, customized to your needs, and without breaking the bank. This step-by-step guide empowers homeowners to confidently tackle this home improvement project, from initial planning to final installation. We’ll address common challenges and guide you through each crucial step, making the process smooth and successful. This article details how to install windows safely and efficiently, saving you money while enhancing your home’s appeal and value. We’ll walk you through essential pre-installation steps, the actual installation process, and valuable post-installation tips and considerations. Be prepared to tackle this project with confidence and transform your home!
Planning and Preparation: The Foundation of a Successful DIY Window Installation
Assessing Your Needs and Resources
Home improvement projects often start with a spark of inspiration, but a well-defined plan is crucial for successful execution. Before you even think about measuring windows, consider the reasons behind your window installation project. Are you renovating a room, replacing outdated windows, or perhaps seeking enhanced energy efficiency? The answer will dictate your choices in terms of window type, materials, and budget.
Measuring Your Windows Accurately
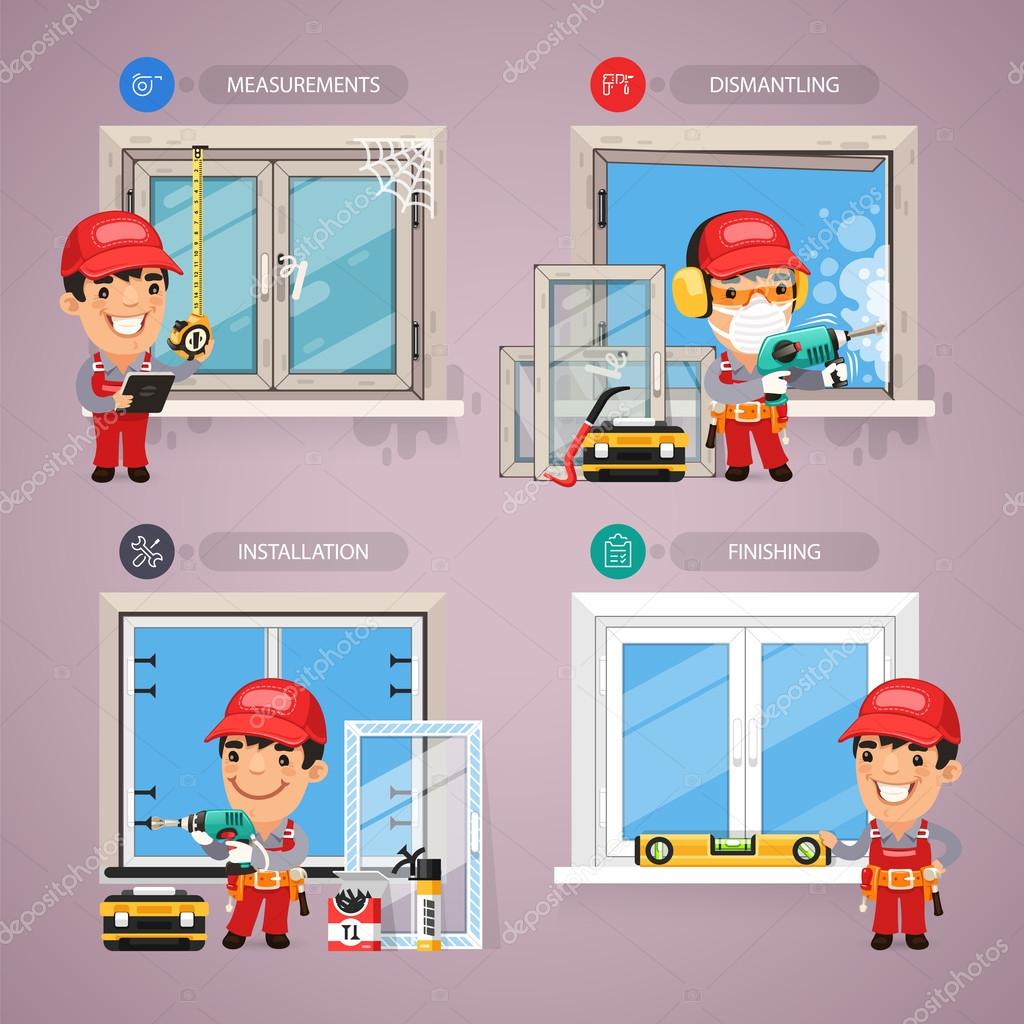
Accurate measurements are paramount in a DIY window installation. A single inch of error can lead to significant complications and costly adjustments. Ensure your measurements are precise, double-checking for any inconsistencies or errors. Use a measuring tape and take several measurements of the existing window frames, accounting for any unique features, like archways or recesses, paying attention to all frame dimensions, jamb depths, and sill heights.
Choosing the Right Windows for Your Home
Evaluating Window Types and Materials
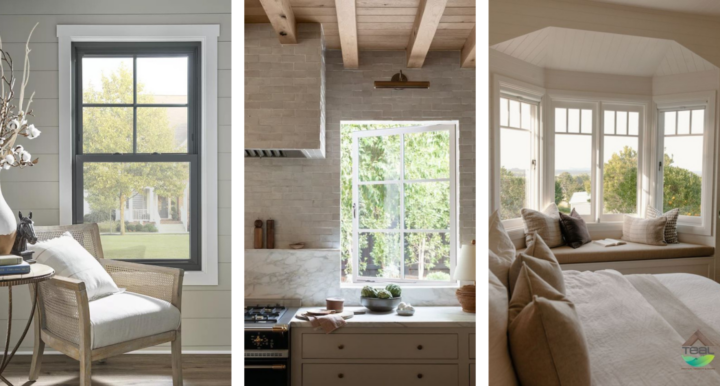
The market offers a plethora of window styles, each with unique properties. Consider your budget, the aesthetic of your home, and desired performance levels in terms of insulation and energy efficiency. Different window types like single-hung, double-hung, sliding, casement, and awning windows each have pros and cons, each influencing the complexity of the installation. Do extensive research on the specific window type you choose. Consider the quality, brand reputation, and long-term performance of each potential choice when making your decision.
Selecting the Right Materials for Your Project
Understanding different window materials like vinyl, wood, aluminum, and fiberglass is vital. Each material offers varying levels of insulation, durability, and maintenance requirements. Careful consideration of your home’s climate, structural needs, and long-term maintenance preferences will guide your selection.
Pre-Installation Steps: Setting the Stage for Success
Gathering the Necessary Tools and Supplies
The success of your DIY window installation hinges on having the right tools and supplies. A comprehensive tool kit must include measuring tools, power tools (like drills and saws), safety gear, and more specialized tools depending on the window type and materials. Creating a checklist of essential materials and tools will streamline the process and ensure you have everything needed. Carefully review the instructions accompanying your chosen windows for specific requirements, like hardware and fasteners.
Preparing the Installation Area and Removing the Old Windows
Preparation and safety are essential during the pre-installation phase. Clear the work area thoroughly, ensuring there’s enough space for maneuvering and handling the materials. If you are replacing old windows, the process of removing the old frames and components should be done carefully, safeguarding the integrity of the surrounding structures. Take detailed photos of the existing window arrangement to assist in the process.
Installing Your New Windows: A Step-by-Step Guide
Installing the New Window Frames and Components
Following the manufacturer’s instructions carefully is crucial for proper installation. Take your time and pay close attention to details. Carefully measure and mark the positions for the new window frames to ensure alignment and precision. Secure the frames using appropriate fasteners and ensuring structural integrity. Be mindful of the need for proper support and reinforcement, ensuring the integrity of the structure.
Securing the Windows in Place
After installing the window frames, the window itself needs to be securely placed in the frame. This involves careful alignment and tightening of all components, ensuring a tight and water-tight seal. Inspect all seals and ensure no air gaps or leaks.
Post-Installation Steps: Ensuring Long-Term Performance
Final Adjustments and Inspections
After the window installation, careful attention to detail during final adjustments and inspections is needed. Ensure the windows operate smoothly and without any obstructions. Thoroughly check for proper seals and weatherstripping, adjusting or replacing any damaged components to ensure a watertight and airtight seal. Inspect every part of the new windows.
In conclusion, DIY window installation is a rewarding project for homeowners who are looking for a cost-effective and personalized way to improve their homes. By following these steps and ensuring proper planning and preparation, you can successfully install new windows and enhance your home’s value and energy efficiency. Remember safety first, and always double-check your measurements and procedures. For more detailed resources or any further questions, don’t hesitate to consult a professional or further research the specific window types and installation methods. Ready to transform your home? Learn more about DIY window installation today!